Semi-permanent nail polish has revolutionised home manicures, offering salon-quality results that can last for weeks. Unlike traditional nail polish, these gel-based formulas cure under UV or LED lamps, creating a durable, high-shine finish that resists chipping and peeling. However, the very qualities that make these polishes desirable—their long-lasting adherence and resilience—also make them more challenging to remove. This guide explores why you might choose semi-permanent polish, the tools and methods for safe removal, and how to care for your nails afterwards.
Why Choose Semi-Permanent Nail Polish?
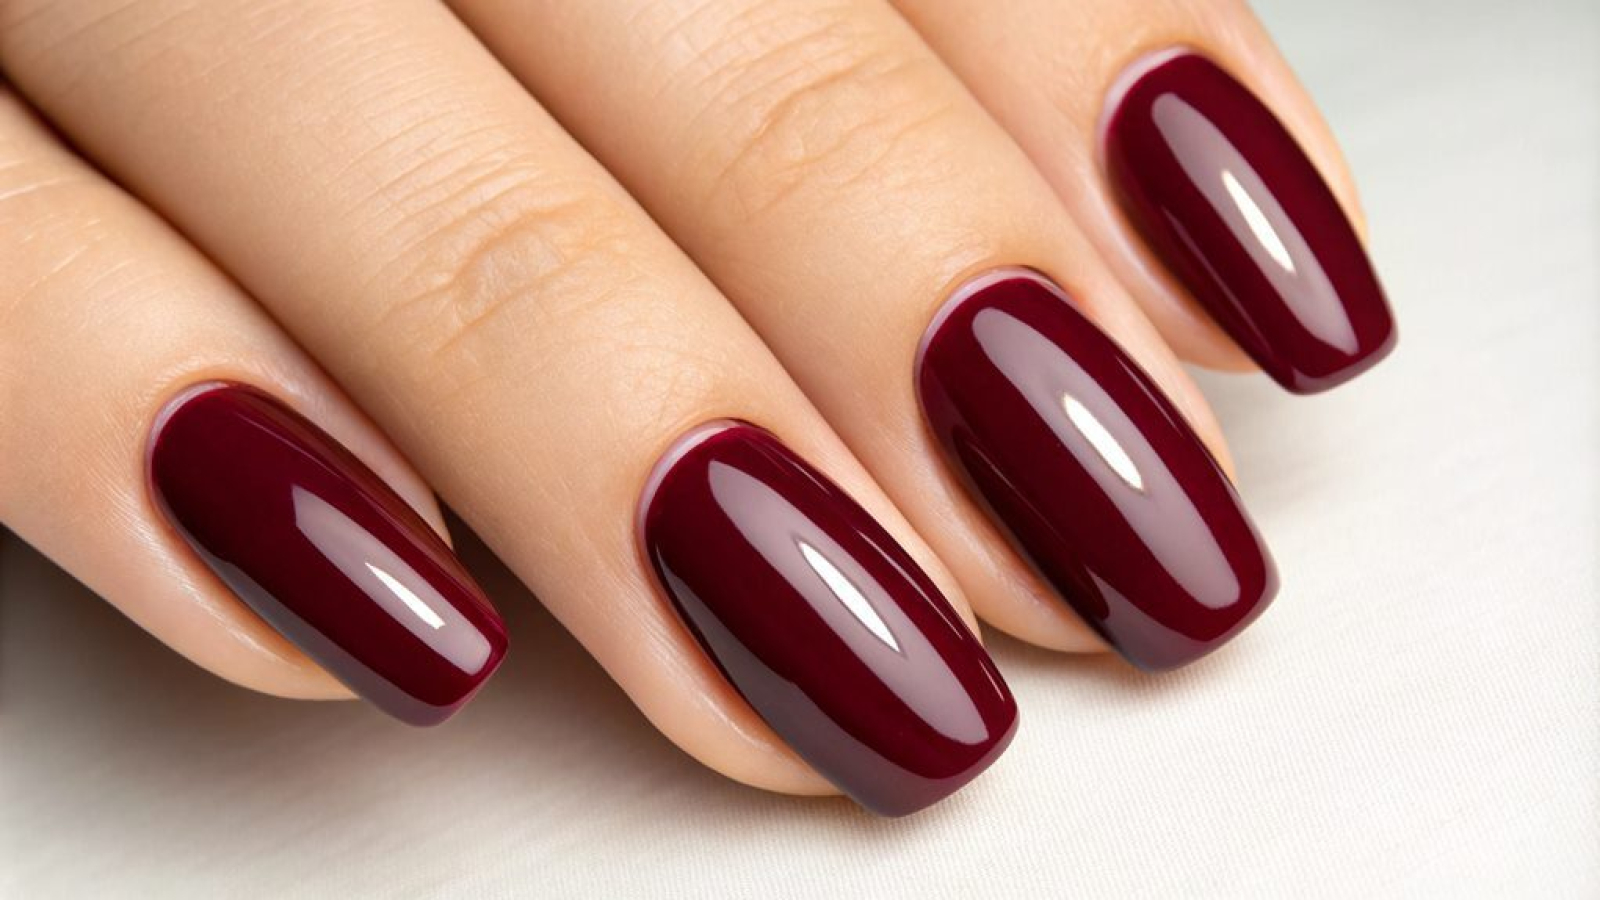
Semi-permanent nail polish offers several advantages over conventional formulas. The primary appeal is its remarkable durability—a properly applied manicure can remain flawless for two to three weeks without chipping or losing its glossy finish. This makes it ideal for holidays, special occasions, or anyone who wants low-maintenance nails.
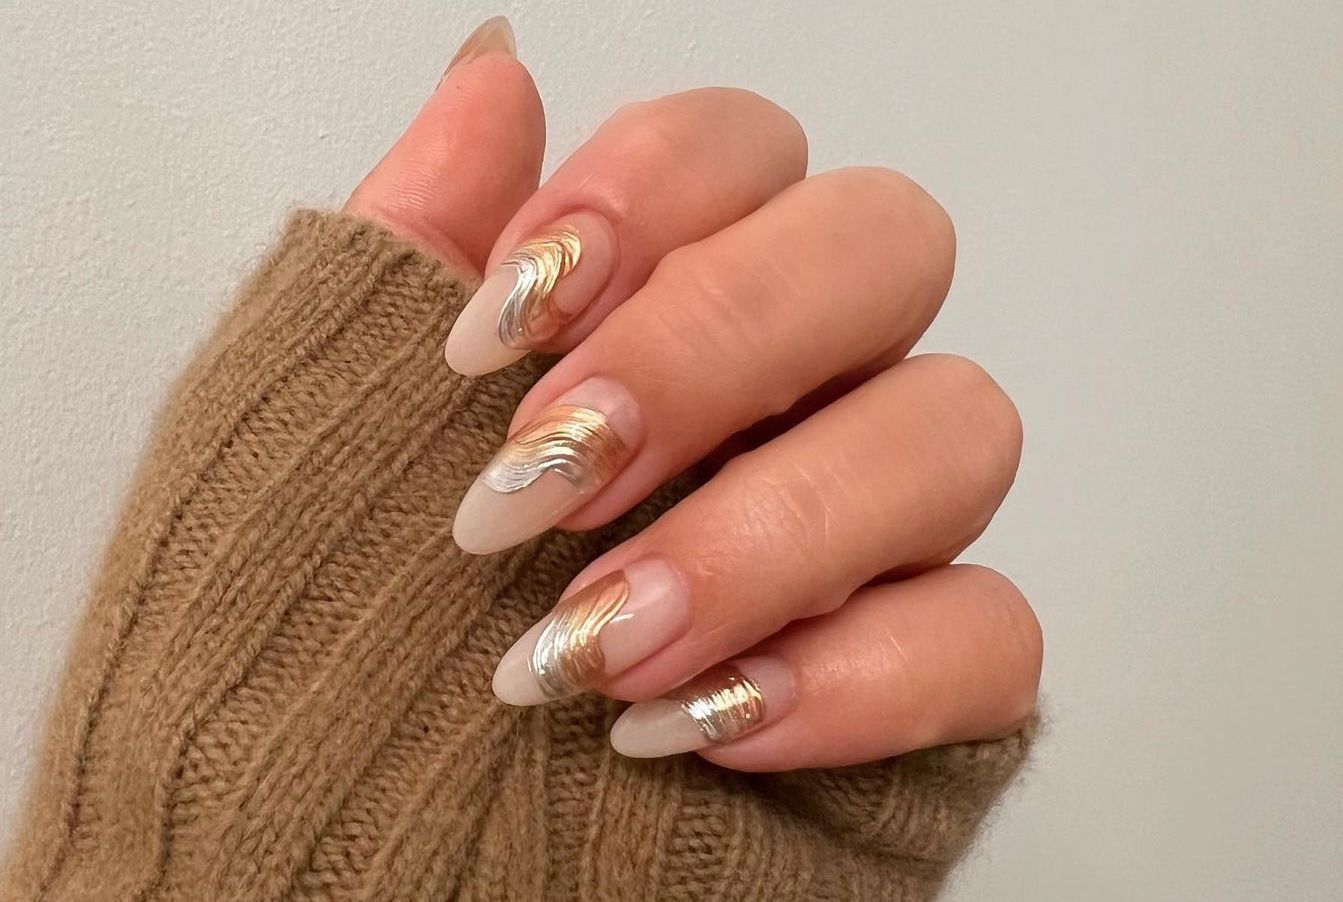
The application process involves photopolymerisation: the polish contains photoinitiators that react to UV or LED light, transforming the liquid formula into a solid, protective film. This curing process creates a bond with the nail plate that standard air-dry polishes cannot achieve. Additionally, semi-permanent polishes maintain their mirror-like shine throughout wear, whereas traditional polishes often dull after a few days. With countless colours and finishes available—from nudes to glitters—there is a semi-permanent option for every preference.
Essential Tools for Removal
Before attempting removal, gather the following supplies:
- Acetone: Pure acetone is essential, as regular nail polish removers lack the strength to dissolve cured gel
- Cotton balls or pads: Soft, absorbent cotton that can be cut to fit each nail
- Aluminium foil: Cut into small squares (approximately 2×2 inches) to wrap fingertips
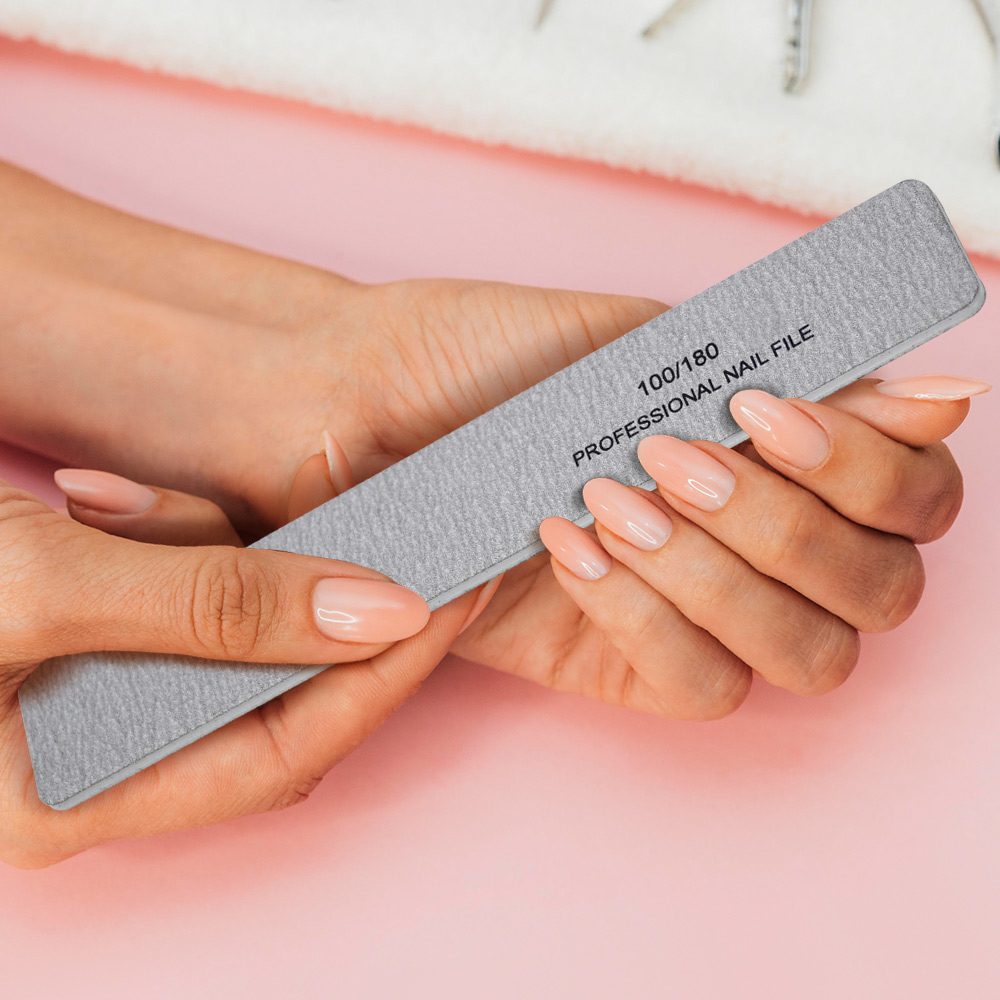
- Nail file: A medium-grit file (180 grit) for breaking the top seal
- Cuticle pusher or orange stick: Wooden sticks are preferable to metal tools, which can scratch the natural nail
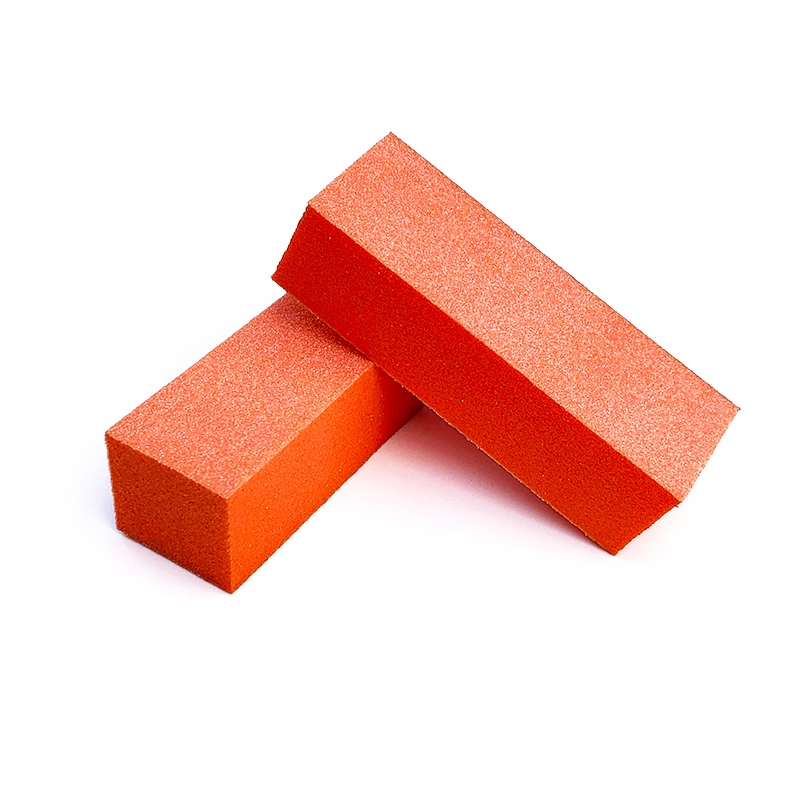
- Optional: Removal clips (alternatives to foil), a polishing block, and a small bowl for soaking
Methods for Removing Semi-Permanent Polish
Several effective methods exist for removing semi-permanent polish at home. The most reliable approach involves using acetone, as the cured gel requires a solvent to break its chemical bonds.
The Foil Wrapping Method is widely considered the gold standard. This technique involves saturating cotton with acetone, placing it on each nail, and securing it with aluminium foil. The foil traps heat, accelerating the dissolving process and maximising contact time.
The Soaking Method offers an alternative: simply submerge fingertips in a bowl of acetone for 10–15 minutes. While effective, this approach requires keeping hands still and uses more acetone than the wrapping technique.
For those seeking acetone-free options, some brands now offer peel-off base coats or specialised removers. Applied before the colour, peel-off bases allow the entire manicure to be removed in one piece without solvents. However, these systems may not provide the same longevity as traditional application methods.
Step-by-Step Removal Guide
Follow these steps for safe, effective removal:
Step 1: Prepare the nails. Begin by gently filing the shiny top layer of each nail until it appears matte and opaque. This breaks the seal and allows acetone to penetrate deeper layers. Be careful not to file into the natural nail plate.
Step 2: Protect surrounding skin. Apply a thin layer of petroleum jelly around each nail to minimise skin dryness and irritation from acetone exposure.
Step 3: Apply acetone-soaked cotton. Cut cotton balls into pieces large enough to cover each nail completely. Saturate them with pure acetone and place directly onto the nail surface.
Step 4: Wrap with foil. Tightly wrap each fingertip with aluminium foil, ensuring the cotton remains pressed against the nail. The seal should be secure enough to prevent air from entering.
Step 5: Wait patiently. Leave the wraps on for 10–15 minutes. This allows the acetone to soften the polish thoroughly. You may feel slight warmth—this is normal, but if burning occurs, remove immediately.
Step 6: Remove and gently scrape. Working one finger at a time, remove the foil and cotton. The polish should appear cracked and softened. Using a wooden stick or cuticle pusher, gently push the residue toward the free edge. Never scrape aggressively or force material off.
Step 7: Address stubborn areas. If some polish remains, rewrap that nail for another five minutes rather than scraping harder.
Step 8: Buff and smooth. Use a very fine buffing block to gently remove any remaining traces and smooth the nail surface.
Post-Removal Nail Protection
Acetone can dehydrate nails and cuticles, so aftercare is essential.
Hydrate thoroughly. Massage cuticle oil or a rich hand cream into each nail and surrounding skin. Products containing jojoba oil, vitamin E, or shea butter are particularly effective at replenishing lost moisture.
Apply a nail strengthener. If nails feel weak or brittle, use a strengthening treatment containing keratin, calcium, or vitamins to reinforce the nail structure.
Take a break. Allow nails to rest for at least one to two weeks between semi-permanent applications. This recovery period helps prevent cumulative damage and maintains nail health.
Protect during chores. Wear gloves when cleaning or using harsh chemicals to prevent further drying and weakening.
With the right technique and proper aftercare, removing semi-permanent nail polish at home can be safe and effective, leaving your natural nails healthy and ready for their next beautiful manicure.
Read also: The Ultimate Guide to Gel Nail Polish: A Long-Lasting Manicure at Home