Builder gel has quickly become one of the most popular nail enhancement products — and for good reason. Whether you want to strengthen weak natural nails, add subtle length, or create a flawless structured manicure, builder gel delivers professional results without the harsh chemicals or steep learning curve of acrylics. This guide covers everything you need to know: its most common uses, proper preparation, step-by-step application techniques, and essential tips for success.
What Are the Common Uses of Builder Gel?
Builder gel is incredibly versatile. Here’s what people actually use it for:
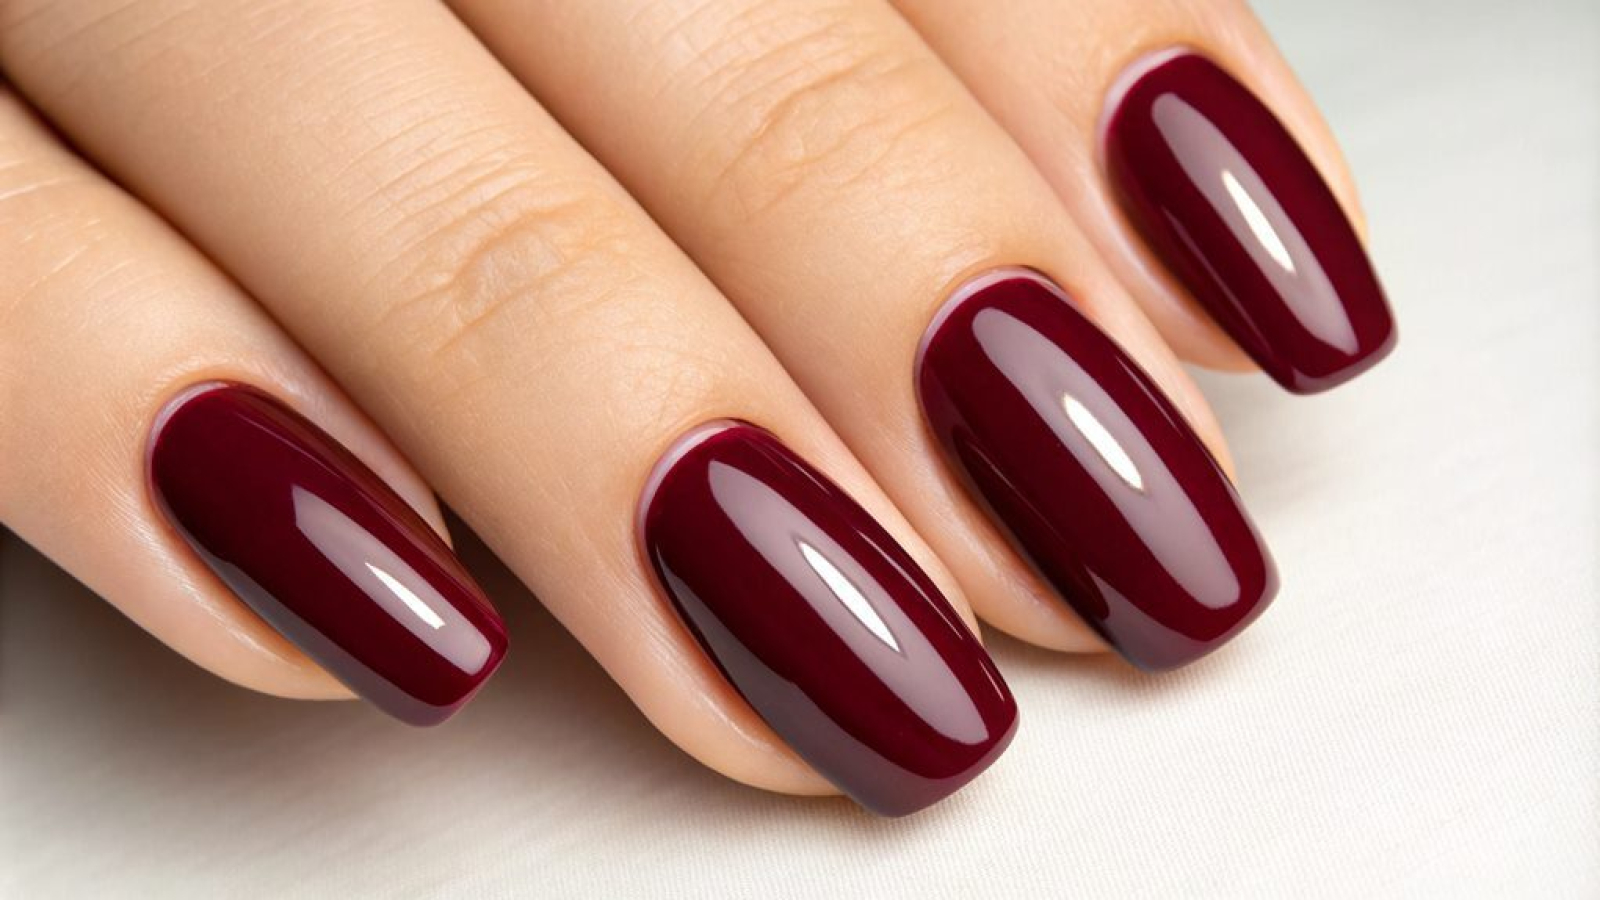
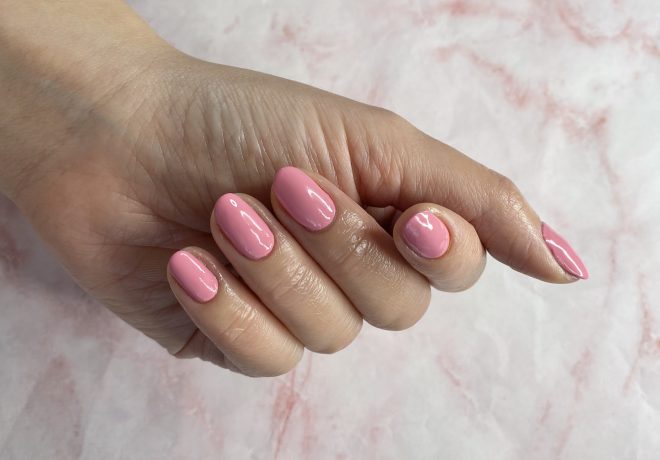
Natural nail overlays. This is the most common use. Applied directly over your natural nail, builder gel adds thickness and strength without extra length, and it’s ideal if your nails are thin, peeling, or break easily.
Structured manicures (apex building). Builder gel allows you to create a slight arch — known as the apex — on the nail plate. This small curve is the “powerhouse of durability,” reinforcing the stress point where the nail breaks most often.
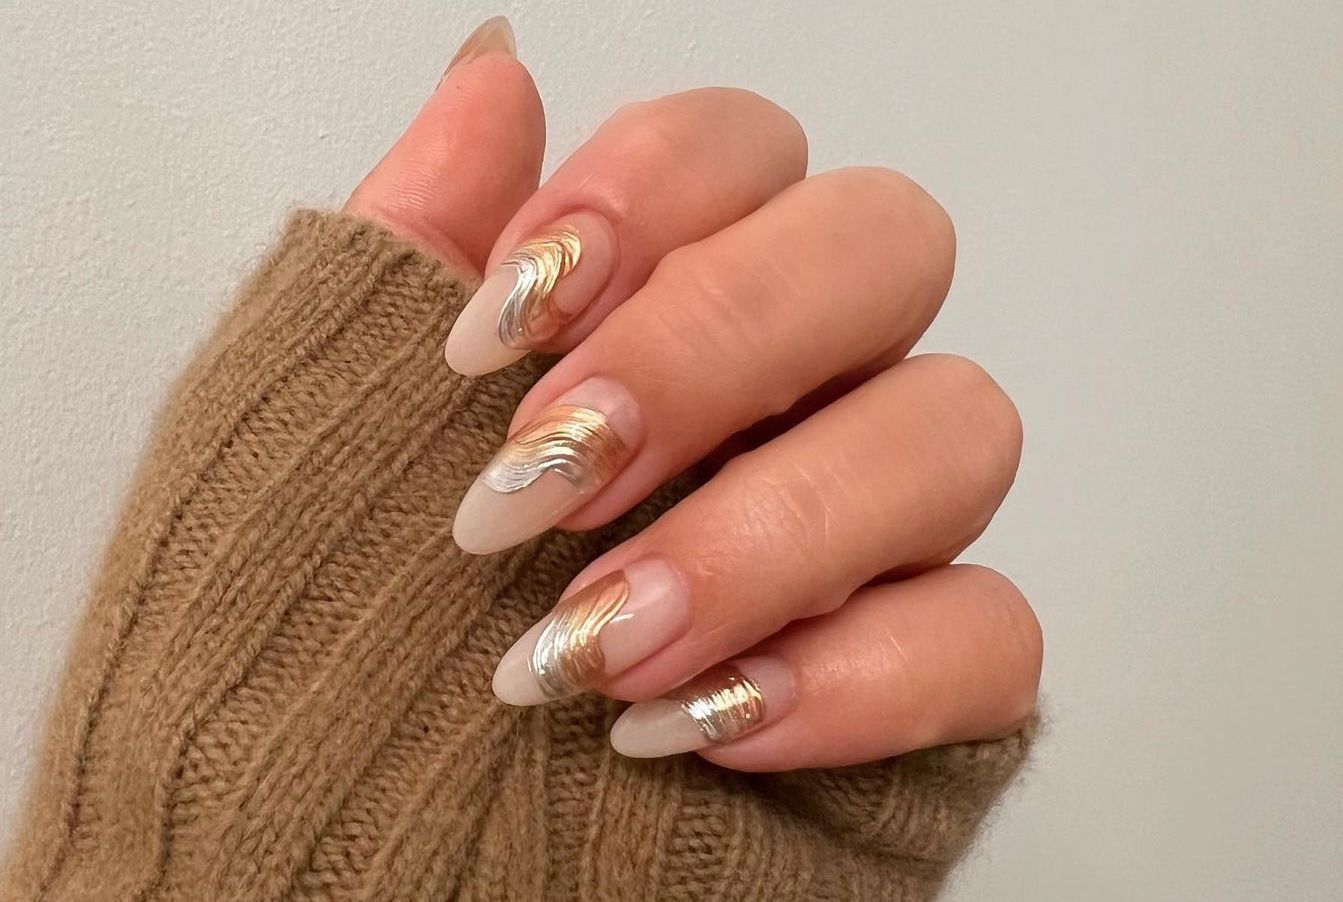
Nail extensions. Combined with nail forms or soft gel tips, builder gel sculpts longer nails while remaining lighter and more flexible than acrylics.
Nail repairs. Builder gel fills ridges, repairs minor chips or fissures, corrects downward- or upward-growing nails, and fixes split or chipped nails.
Nail rehab (growing out damage). If your nails are thin or peeling from previous enhancements, builder gel protects them as they recover, helping them grow out without breaking.
Preparation Steps Before Applying Builder Gel
Thorough nail prep is essential for long-lasting builder gel results and to reduce the risk of lifting. Here’s how to prep properly:
Step 1 – Shape and clean. Start with clean, dry hands. File the free edge into your desired shape using a 180-grit file, ensuring all nails are the same length. Push back cuticles gently with a cuticle pusher or orangewood stick. Lightly buff the surface of each nail with a fine nail buffer to remove natural shine and create a slightly textured surface — this helps the gel grip. Don’t overdo it; just enough to remove shine is plenty.
Step 2 – Dehydrate and prime. Use a nail dehydrator to remove moisture and natural oils from the nail plate. Follow with a primer applied to the center of the nail, keeping it away from the cuticle and sidewalls. This step ensures the builder gel bonds properly.
Step 3 – Apply base coat. Apply a thin layer of gel base coat, capping the free edge (swiping the brush along the nail tip) to seal it. Cure under your UV/LED lamp: typically 60 seconds for LED or 2 minutes for UV.
How to Apply Builder Gel on Natural Nails (Overlay)?
Once your nails are prepped and the base coat is cured, it’s time to apply the builder gel.
Apply a slip layer (uncured). Using your builder gel brush, apply a very thin “slip layer” to the nail — a bit of gel thinner than you’d normally use. Do NOT cure this layer; it acts like double-sided tape to help the next layer adhere smoothly and prevents bubbles.
Place the main bead. Pick up a small bead of builder gel with your brush (about the size of a peppercorn). Float the bead over the nail, focusing the thicker product where the nail needs strength — typically at the apex, slightly below the center of the nail. Use gentle movements to work the gel into place rather than long brush strokes.
Build the apex. The apex should be a soft, even arch — not a sharp hump or a completely flat surface. Turn your hand upside down for a few seconds; gravity pulls the gel toward the center, enhancing the apex shape naturally.
Cure and refine. Cure under your UV/LED lamp for 60–90 seconds (follow your product’s instructions). After curing, wipe away the sticky inhibition layer. Use a 180-grit file to refine the shape, smooth the surface, and remove any bulkiness. Buff lightly if needed, then wipe clean.
Finish with top coat. Apply a thin, even layer of gel top coat, cure again, and finish with cuticle oil for hydration.
How to Use Builder Gel for Nail Extensions?
To add length, you’ll need nail forms or soft gel tips:
Attach forms or tips. Apply nail forms under the free edge, extending about 1cm past your natural nail. Or apply soft gel tips to the tips of your natural nails and flash cure.
Build the extension. Apply a slip layer and flash cure. Place a bead of builder gel slightly below the center, where the apex will be. Gently push the gel toward the cuticle without touching skin, then slowly pull it out toward the tip in curved motions. Keep the apex centered (longer extensions require the apex positioned further back, shorter extensions placed more forward). Cure for 90–120 seconds.
Refine and finish. After curing, file and shape to create your desired silhouette, then finish with top coat.
Important Tips for Perfect Builder Gel Application
Apply thin layers. Work in thin layers to prevent bubbling and ensure even curing.
Invest in a good lamp. A high-quality UV/LED lamp compatible with your builder gel brand is essential for proper curing.
Self-levelling is your friend. Many builder gels are self-levelling, meaning they spread evenly across the nail surface with minimal effort.
Use a liner brush for precision. A fine liner brush helps pull excess gel that has gathered at the free edge to create the perfect apex.
Check the side view. Before curing, turn your finger upside down and observe the reflection on the shiny gel surface. A straight reflection line indicates even application; curved or double reflections signal uneven spots.
Don’t rush. Builder gel requires careful application and patience. The learning curve exists, but it quickly becomes second nature with practice.
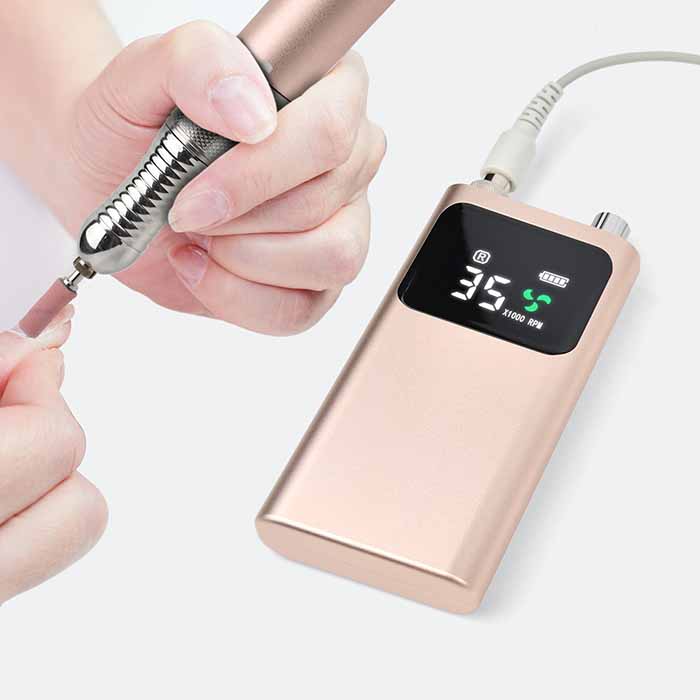
Buff down if needed. If the gel seems bulky after curing, don’t hesitate to buff it down with an electric nail file.
Never skip aftercare. Massage cuticle oil into your nails daily to keep them hydrated and flexible.
The Bottom Line
Builder gel offers the perfect middle ground between lightweight gel polish and heavy-duty acrylics — strong enough to protect and extend, yet flexible enough to feel natural. Whether you’re strengthening weak nails, building an overlay, or sculpting subtle extensions, following proper preparation and these step-by-step techniques sets you up for a flawless finish. Practice, patience, and the right tools make all the difference.
Got questions about builder gel or specific product recommendations? Drop them in the comments. I’ve tested multiple formulas — happy to share what works.
Read also: The Complete Guide to Semi-Permanent Nail Polish: Benefits, Removal, and Aftercare