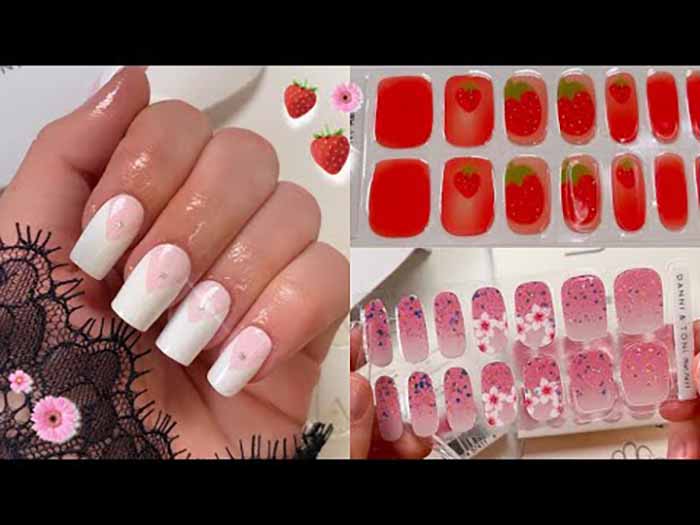
Imagine getting a long-lasting, high‑shine gel manicure in the time it takes to paint one coat of regular polish. That‘s the promise of UV gel nail stickers (also called semi‑cured gel strips or nail wraps). They occupy a clever middle ground between traditional press‑ons and professional gel polish, offering salon‑quality results at a fraction of the time and skill required.
What Are UV Gel Nail Stickers?
UV gel nail stickers are thin, flexible strips made from real gel polish that has been pre‑cured to about 60% in the factory. They arrive soft and pliable so you can stretch them gently to fit your nail shape, but they still need a final cure under a UV or LED lamp to reach full hardness and shine. The design—color, pattern, and top coat—is already baked into the sticker. There‘s no painting, no drying time, and almost no mess. A full set takes about 15‑20 minutes, yet the result looks and wears like a professional gel manicure.
The Right Preparation: Your Most Important Step
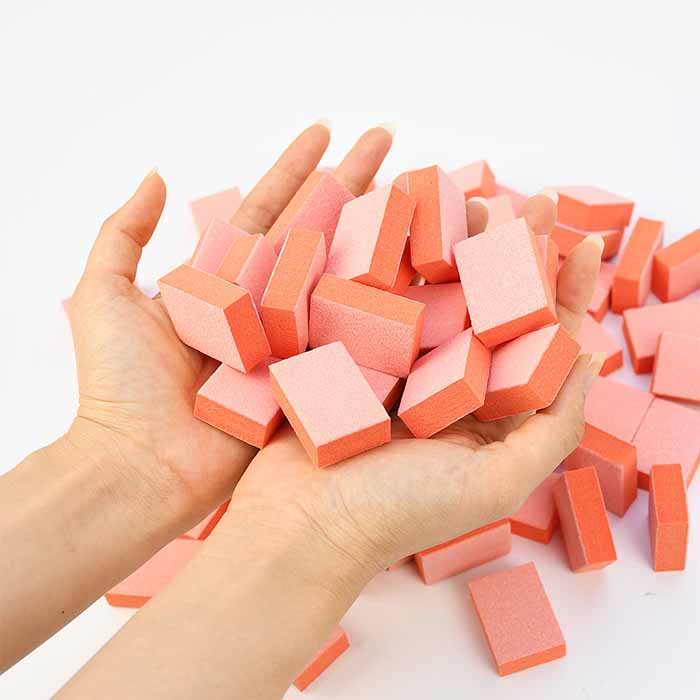
Skipping prep is the number one reason UV gel stickers lift or peel early. Start with clean, dry hands. Push back your cuticles using a wooden stick or cuticle pusher. Lightly file the surface of each nail with a fine‑grit (240) buffer block to remove the natural shine – this creates a slightly rough texture for the adhesive to grip. Do not over‑buff; just a few gentle passes are enough. Finally, wipe each nail with an alcohol prep pad to eliminate every trace of oil, dust, and residue. After this step, do not touch your nails with bare fingers.
Essential Tools
Most UV gel nail sticker kits come with everything you need for a basic application. Your kit should include:
- UV or LED lamp – necessary for curing; UV‑compatible stickers will not harden without it.
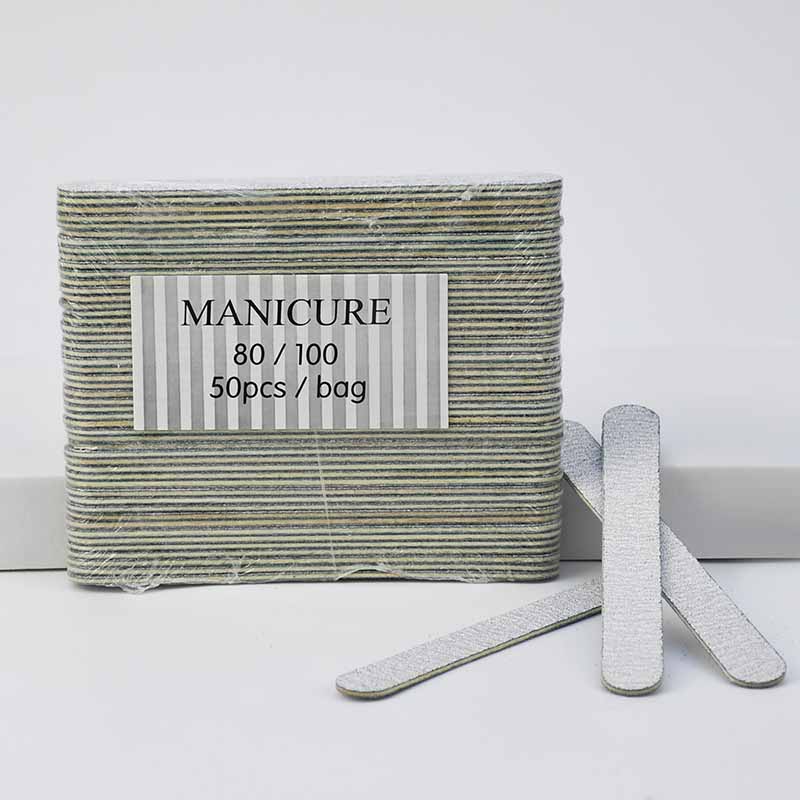
- Nail file / buffer – for shaping and removing shine.
- Cuticle stick – for pushing back cuticles and smoothing edges.
- Alcohol prep pads – for final degreasing.
- Scissors or nail clippers – to trim excess sticker length.
- Tweezers – optional, but helpful for precise placement.
Step‑by‑Step Application
1. Size the stickers. Lay the strips over your nails to find the best fit for each finger. When in doubt, choose a sticker slightly smaller than your nail rather than one that overhangs.
2. Apply. Peel the sticker from its backing. Align the rounded cuticle edge just above your cuticle line and press it onto the nail. Smooth from the center outward toward the edges, pushing out any air bubbles with your finger or the cuticle stick.
3. Press edges firmly. Pay special attention to the sides and cuticle area – any edge that isn’t flush with the nail will lift during curing.
4. Trim excess length. If the sticker extends past your free edge, trim it with small scissors, then file downward in one direction to create a smooth, flush finish.
5. Cure. Place your hand under the UV/LED lamp and cure for the time recommended by your sticker manufacturer (typically 1‑3 minutes). Never touch uncured stickers with your bare skin during this step; use tweezers if needed.
6. Final smooth (optional). If you feel any roughness at the tip or edges, a light pass with a fine nail file is safe. For even longer wear, apply a thin layer of gel top coat over the cured sticker and cure again.
How to Extend Wear (Up to 14 Days)
With proper application, UV gel stickers last 10 to 14 days. To get the most out of them:
- Use a lamp every time. Semi‑cured stickers harden fully only under UV/LED light; without it, they remain soft and will lift within hours.
- Apply cuticle oil daily. Hydrated cuticles keep the seal intact and prevent edges from lifting.
- Avoid prolonged water exposure. Wear gloves for dishwashing, cleaning, or long baths. Water seeping under the edges is the fastest route to peeling.
- Reapply a top coat after a few days. A fresh layer of clear gel top coat refreshes the shine and reinforces the edges.
- Don‘t use your nails as tools. No opening cans, peeling stickers, or scraping. Treat them like a finished manicure, not a multitool.
Safe Removal Without Damage
UV gel stickers are designed to be removed without acetone. The process should be entirely resistance‑free. Follow these steps:
1. Soften the adhesive. Apply a few drops of cuticle oil along the edges of the sticker, or soak your nails in warm soapy water for a few minutes.
2. Lift gently. Using a wooden cuticle stick (not metal), gently lift one corner of the sticker. For stubborn stickers, dip the stick in nail polish remover before lifting.
3. Peel slowly. Once an edge is lifted, peel the sticker away from the cuticle toward the free edge. Work patiently – if you feel resistance, reapply oil and wait a moment longer.
4. Clean and hydrate. Wipe away any adhesive residue with an alcohol pad, then massage cuticle oil into your nails and surrounding skin.
Never scrape or pry with metal tools, and never peel the sticker off dry – this can remove layers of your natural nail and leave them thin and damaged.
The Bottom Line
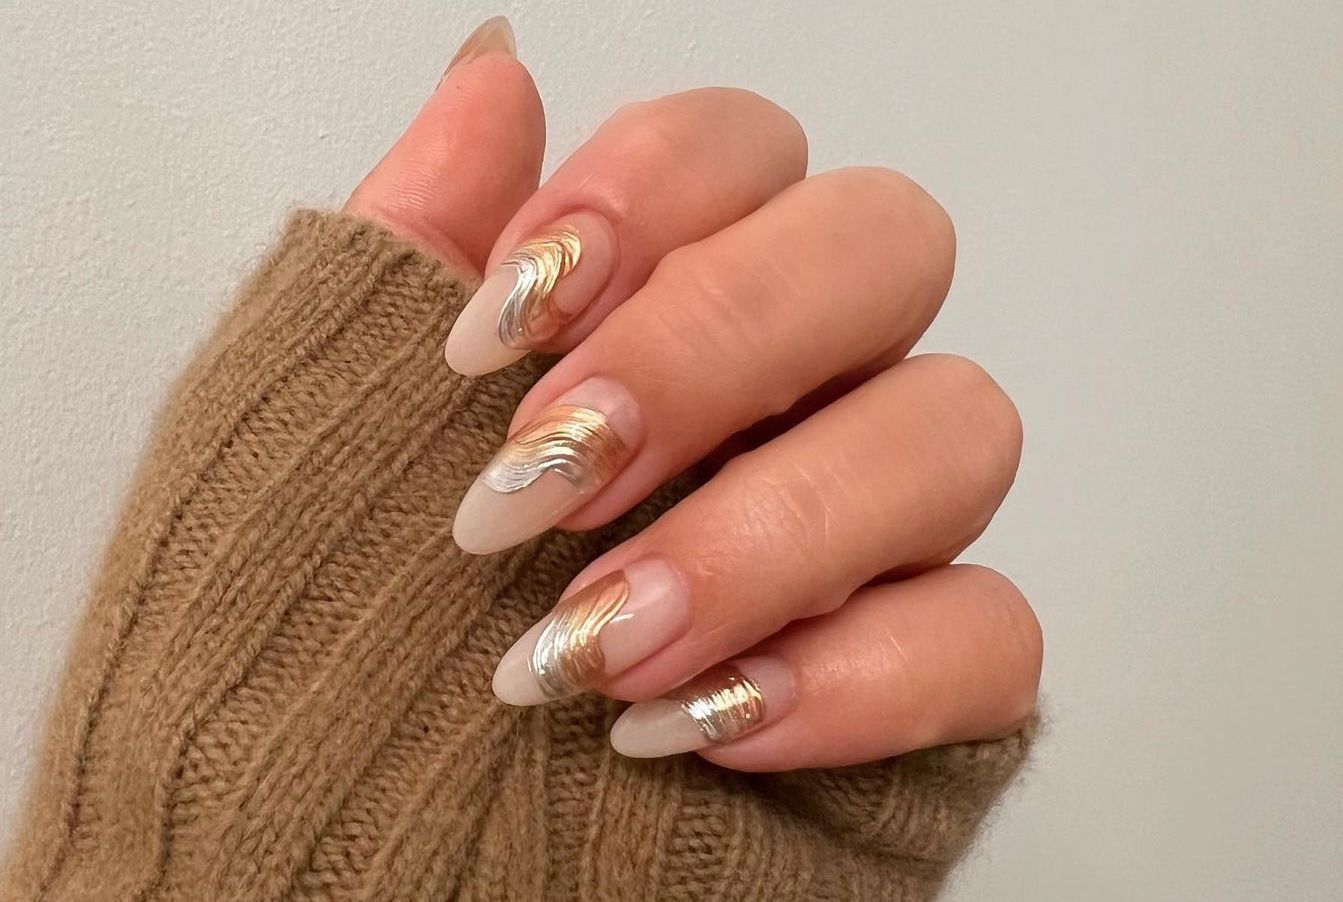
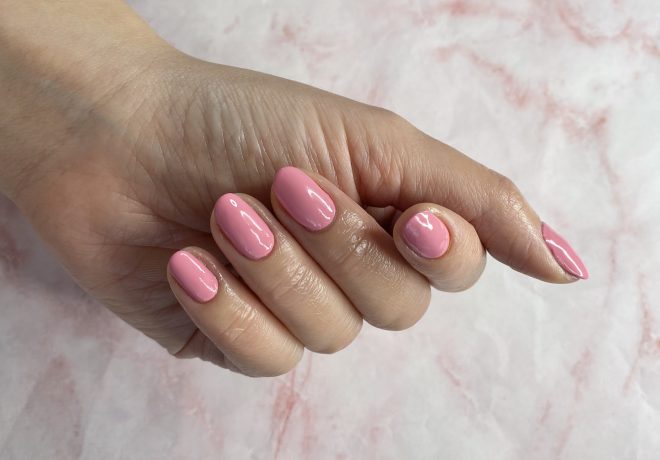
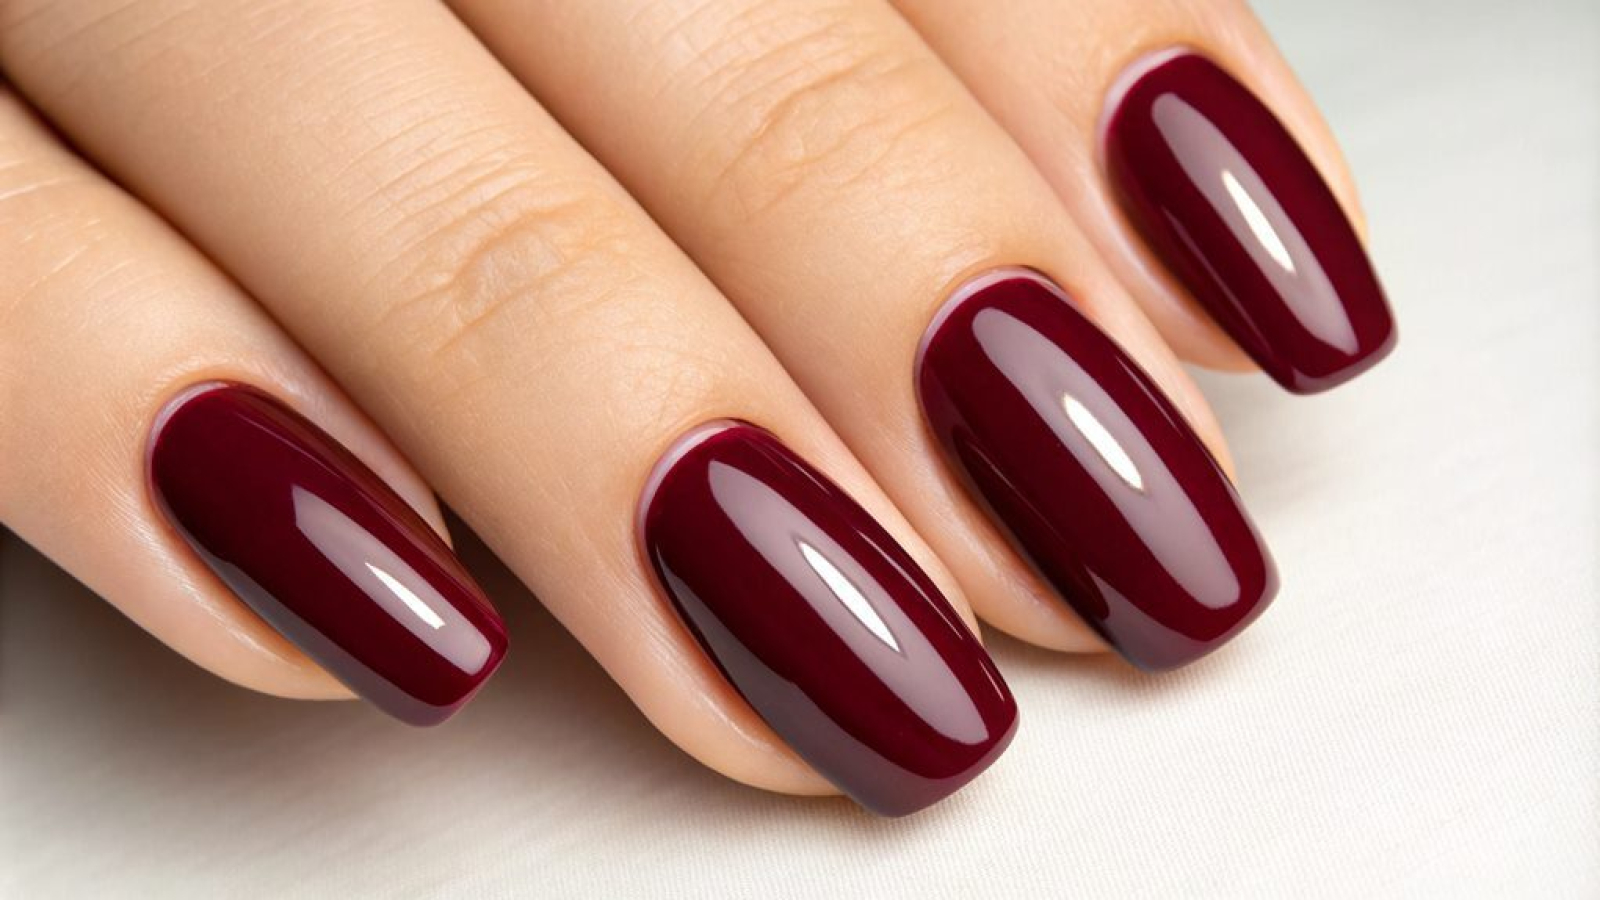
UV gel nail stickers deliver salon‑quality results at a fraction of the time, cost, and skill required for traditional gel polish. From a minimalist nude to a bold, intricate design, the application is clean, the finish is glossy, and the removal is damage‑free. With the right prep, a proper cure, and gentle aftercare, you can enjoy a perfect gel manicure that lasts for two weeks – without ever touching a brush.
Have you tried UV gel stickers? What‘s your favorite design or a tip that made your set last longer? Share it in the comments – I’d love to hear your experience.
Read also: The Complete Beginner’s Guide to Builder Gel: Uses, Prep, Application & Pro Tips
One thought on “UV Gel Nail Stickers: A Complete Guide to Application, Longevity, and Safe Removal”