Nail preparation is the foundation of every good manicure. It removes oils, moisture, dust, and dead tissue so that polish, gel, or acrylic can bond properly. But preparation is not a single fixed routine. Natural nails differ in oil production, moisture levels, thickness, flexibility, and surface texture. A preparation method that works perfectly on one person may cause lifting on another or damage a third. Adjusting your prep to the nail type is not a luxury—it is essential for long wear and nail health.
Why Adjust Preparation to Nail Type?
The main goal of prep is to create a clean, dry, slightly textured surface. However, the starting condition of the nail determines how you achieve that surface.
Oily or lipid-rich nails produce more sebum on the nail plate. If you do not remove these oils thoroughly, gel and polish will lift within days. These nails need stronger dehydration and sometimes a primer.
Dry nails lack natural oils and moisture. They are often brittle, peeling, or ridged. Aggressive buffing, harsh dehydrators, and acetone can make them worse. These nails need gentle prep and extra aftercare.
Normal, balanced nails need a standard routine: cleaning, shaping, light buffing, and dehydration. They usually do not need strong primers or special treatments.
Understanding the difference helps you avoid two common mistakes: under-preparing oily nails and over-preparing dry nails.
Basic Steps of Nail Preparation
Regardless of nail type, most manicures follow a similar sequence. The intensity and products change, but the order remains.
- Assess the nails. Look for oiliness, dryness, ridges, peeling, damage, or infection.
- Remove old polish. Use a gentle remover for regular polish. For gel, use the acetone soak method. Never peel.
- Shape the nails. Use a fine-grit file (180–240). File in one direction only. Choose a shape that suits the hand.
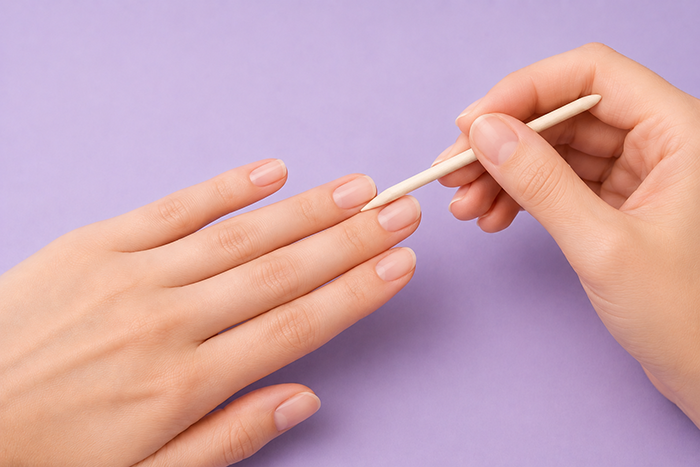
- Push back cuticles. Soak briefly or use a cuticle softener. Push gently with a wooden or rubber-tipped pusher. Do not cut living cuticle.
- Remove dead cuticle tissue. Use a cuticle pusher or a fine-grit mini sanding band to clear dead tissue from the nail plate.
- Buff the surface lightly. Use a fine buffer or a fine sanding band. Remove shine, not thickness.
- Remove all dust. Use a dust brush or lint-free wipe.
- Dehydrate. Wipe with a nail dehydrator or 91% isopropyl alcohol. This removes oils and moisture.
- Apply primer if needed. Only for oily nails or specific enhancement systems.
- Begin product application immediately. Do not touch the nails after dehydrating.

Products Used for Surface Preparation
The products you use for the nail plate should be chosen carefully.
- Nail file: 180–240 grit for natural nails.
- Buffer: 240–400 grit for gentle smoothing.
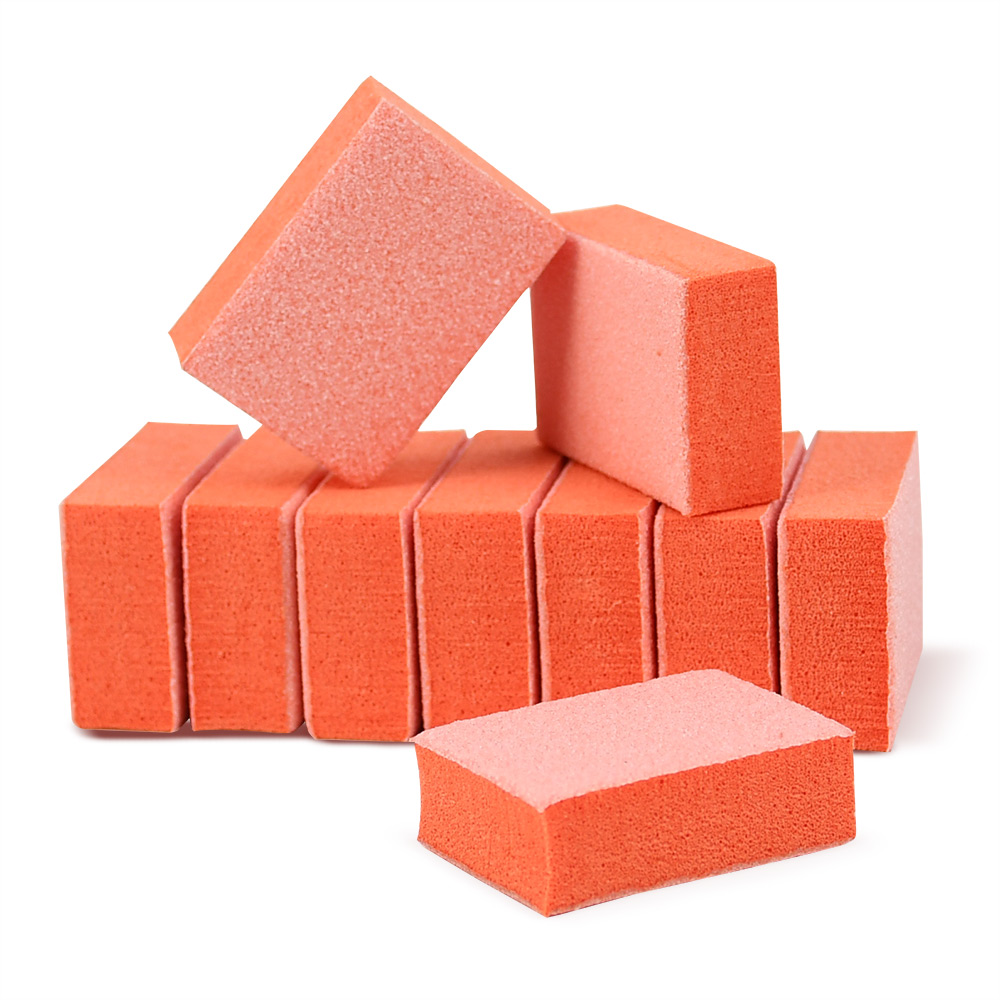
- Mini sanding bands: fine grit (180–240) for e-file precision work around cuticles and sidewalls.
- Cuticle pusher: wooden or metal. Wooden is gentler and disposable.
- Cuticle nippers: sharp, for dead skin only.
- Lint-free wipes: for cleanser and dehydrator.
- Dehydrator or 91% isopropyl alcohol: removes oils and moisture.
- Primer: optional. Use for oily nail beds or when the product system requires it.
- Dust brush: removes filing dust.
- Cuticle oil: for aftercare, not before application.
Preparation for Normal Nails
Normal nails are balanced. They are not excessively oily or dry. The standard routine works well.
Clean the nails thoroughly. Shape and push back cuticles. Lightly buff the surface with a nail buffer—two or three passes. Remove dust. Wipe with dehydrator or alcohol once or twice. Do not touch the nail plate. Apply base coat and proceed. A primer is usually not necessary unless the client has slightly oily nails or the product instructions require it.
Preparation for Dry Nails
Dry nails are brittle, peeling, or ridged. They lack moisture and natural oils. The goal is to clean the surface without stripping it further.
Avoid coarse files and aggressive buffing. Use a fine buffer with very light pressure. Do not over-dehydrate. Use a gentle cleanser rather than a harsh dehydrator if possible. If you must use alcohol, use it quickly and do not soak. Skip acid primers. Choose a strengthening base coat or a hydrating gel base. Keep the application thin. After the manicure, apply cuticle oil daily. Wear gloves for wet work. Avoid acetone removers for regular polish. Take breaks between gel applications to let the nails recover.
Preparation for Oily or Lipid-Rich Nails
Oily nails are the most challenging for adhesion. The nail plate produces enough oil to prevent polish and gel from bonding.
Remove old polish. Shape and push back cuticles. Buff the surface a little more thoroughly than for normal nails, but still gently. Remove all dust. Dehydrate twice with a dehydrator or 91% alcohol. Do not touch the nails after this step. Apply a primer designed for oily nails. Use a sticky or rubberised base coat. Keep gel off the skin. Cure fully. For regular polish, use a sticky base coat and avoid hand cream before application. After the manicure, avoid touching the face or hair, which can transfer oils to the nails.
Common Mistakes to Avoid
Over-buffing. This thins the nail plate and makes it weak. Two or three light passes are enough.
Skipping dehydration. Oils prevent adhesion. Always dehydrate, especially on oily nails.
Touching the nail after dehydrating. Finger oils transfer instantly and ruin the bond.
Cutting living cuticles. This causes infection and irregular growth. Push, do not cut.
Using the wrong grit. Coarse files on natural nails create micro-tears and peeling.
Using too much primer. Primer is a bonding agent, not a moisturiser. A thin layer is enough.
Applying product to wet nails. Moisture prevents adhesion. Nails must be dry.
Using old or separated products. Old base coats and gels do not perform properly.
Skipping the free edge. Not capping the tip allows water to enter and cause lifting.
Not matching base coat to nail type. Oily nails need a sticky base. Dry nails need a strengthening base.
Final Thoughts
Nail preparation is not a single routine. It is a flexible process that changes with the condition of the nail. Normal nails need standard prep. Dry nails need gentle prep and rich aftercare. Oily nails need thorough dehydration and a primer. By adjusting your method, you protect the natural nail and create the best possible foundation for a long-lasting manicure. Clean tools, correct products, and careful technique complete the picture. When preparation is done right, everything that follows—colour, shine, and wear—performs better.
Read also: Why Does Nail Polish Turn Yellow? Causes, Prevention, and Proper Storage